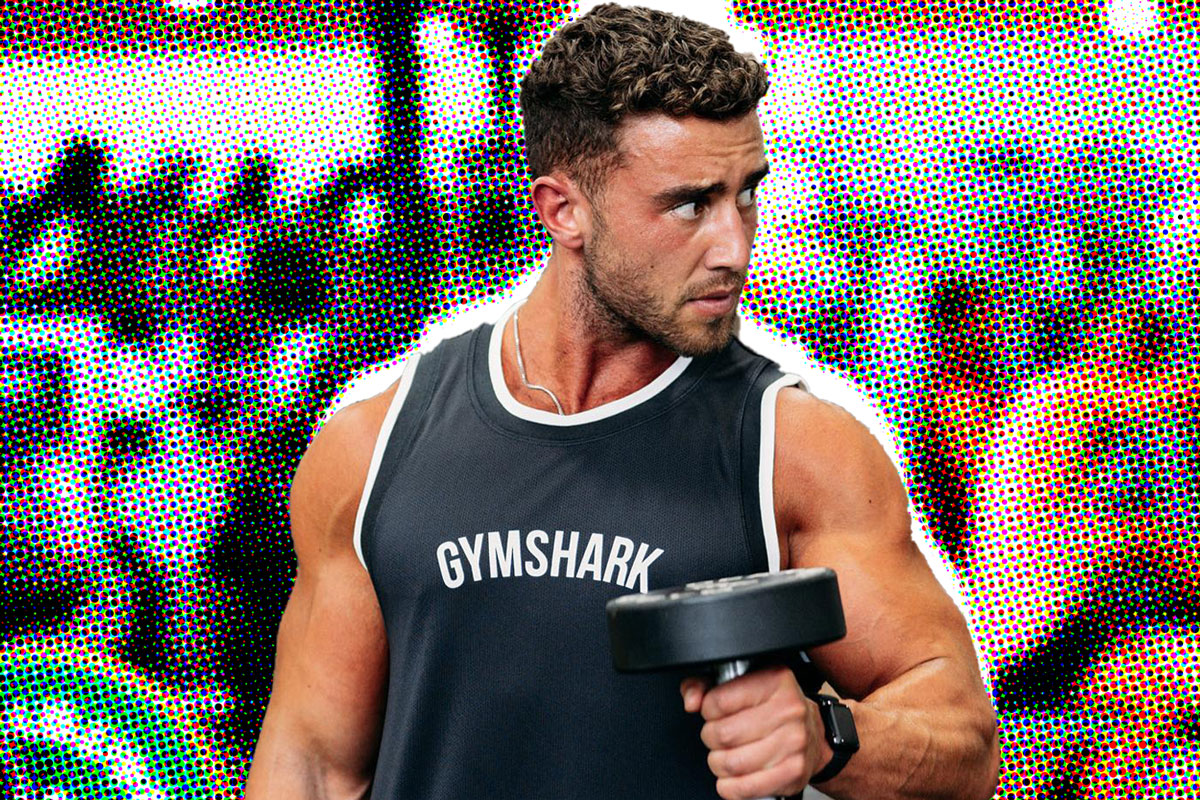
Hammer curls are a great arm exercise that can really help to grow the size of your biceps, all thanks to a change in wrist orientation compared to a standard bicep curl. But, good form is vital.
Hammer curls are a bicep exercise that not only targets the head of the bicep (which is also targeted with a conventional bicep curl) but the sides of your biceps too. For the biologists out there, hammer curls specifically target the elbow flexors, which comprise the biceps brachii, brachioradialis, and brachialis, says Healthline.
These muscles are the ones responsible for bringing your hand up to your shoulder, i.e. the ones that help you sling back 20 beers over a weekend.
So, with hammer curls being such an important and beneficial biceps exercise, it’s one you really do want to be included in your workout routine. But, as with pretty much every other exercise on the planet, good form is more important than the amount of weight you lift.
WATCH: Nick Cheadle shows how to perform hammer curls correctly.
What is the correct form for a hammer curl you ask? Nick Cheadle has the answer. Taking to Instagram, Nick highlights a common mistake people will make when performing hammer curls: using their shoulders to provide momentum to help curl the dumbbell.
In fact, with hammers curls, you don’t even need to curl the dumbbell more than 90 degrees. By only curling to 90 degrees, it actually makes the hammer curl harder and more effective in one fell swoop.
How to perform a hammer curl
To perform a hammer curl, take a dumbbell in each hand and hold them in a neutral grip (palms facing inwards) as opposed to a supinated grip (palms facing upwards) that you would use for a standard bicep curl.
Keep your elbows tight against your body and keep them there throughout the duration of the exercise.
Then, simply curl the dumbbells at the same time, up until they reach a 90-degree angle. Slowly return to the starting position and repeat for the desired number of repetitions.
In his video, Nick highlights the difference between how a hammer curl should be performed and how some people may perform it incorrectly.
While he admits that the swinging curls include “the same amount of flexion at the elbow,” by performing the hammer curl correctly “is much more difficult at the top of the rep.” This is because holding the weight in a 90-degree position requires us to engage our biceps a lot more, compared to if we simply swing them up towards our face.
If you are a swinger (not that kind) then you’ll end up engaging your shoulder muscles for half of the movement. This, says Nick, is because “we use our shoulders to push our elbows forward, which takes the tension off the bicep.”
Benefits of 90 degrees
We’ve previously discussed the potential benefits of integrating 90-degree angles in the majority of weightlifting exercises. The insight came from Dr Joel Seedman, who reckons the 90-degree joint angle is a “hidden training secret.”
He added, “When we examine sub-sciences of kinesiology including structural muscle physiology, biomechanics, neuromuscular physiology, physics & more, we see that optimal range of motion for most movements involve 90-degree joint angles.”
“90 degrees maximises muscles activation, strength gains, muscle hypertrophy, joint health & athletic performance, not to mention full-body stability, mobility, symmetry & more.”
In his examples, Dr Seedman applied the 90-degree angle concept to overhead presses but he also highlighted their benefit to bicep curls, too.
So, combine this knowledge with Nick’s perfect demonstration of how a hammer curl should be performed, and you’ll be well on your way to gaining some bigger arms.
Read Next- How To Perform A Deadlift Correctly To Avoid Injury
- How To Bench Press Properly To Avoid Injury & Maximise Gains
The post The One Mistake You’re Probably Making With Your Hammer Curls appeared first on DMARGE.

0 Commentaires